


Android, Raspberry Pi and Ktor - Expanding Capabilities
Hosting an Android UI (Jetpack Compose) and a Ktor backend on the same Raspberry Pi — foreground services, local CRUD, websockets, image uploads, and what got in the way.
Project Overview
The goal of this experiment was to explore a full-stack architecture by hosting both an Android UI (Jetpack Compose) and a backend server (Ktor) within a single project on a Raspberry Pi.
At the time of development, Kotlin Multiplatform (KMP) was still in its early, unstable stages, so I was trying to find alternative ways to share code and logic between a client and a server on a dedicated hardware device.
Benefits of running full stack on Raspberry Pi
- Full stack in a single project
- Streamlined deployment — no need to switch between IDEs or manage separate projects.
- Sharing code — similar to KMP, I was able to share data classes and some business logic between the front end and server.
- Re-using the persistence layer — I used Room in both the UI and server with a Mutex, which worked well for simple scenarios.
- Availability and practical use cases
- No Li-ion battery — the project was running 24h with an always-on display, so there was no risk of battery overheating or degrading.
- RESTful API — there are a number of use cases for running a RESTful API on the local network, but my favourite was sending reminder messages or task notes from my phone and displaying them as info banners.
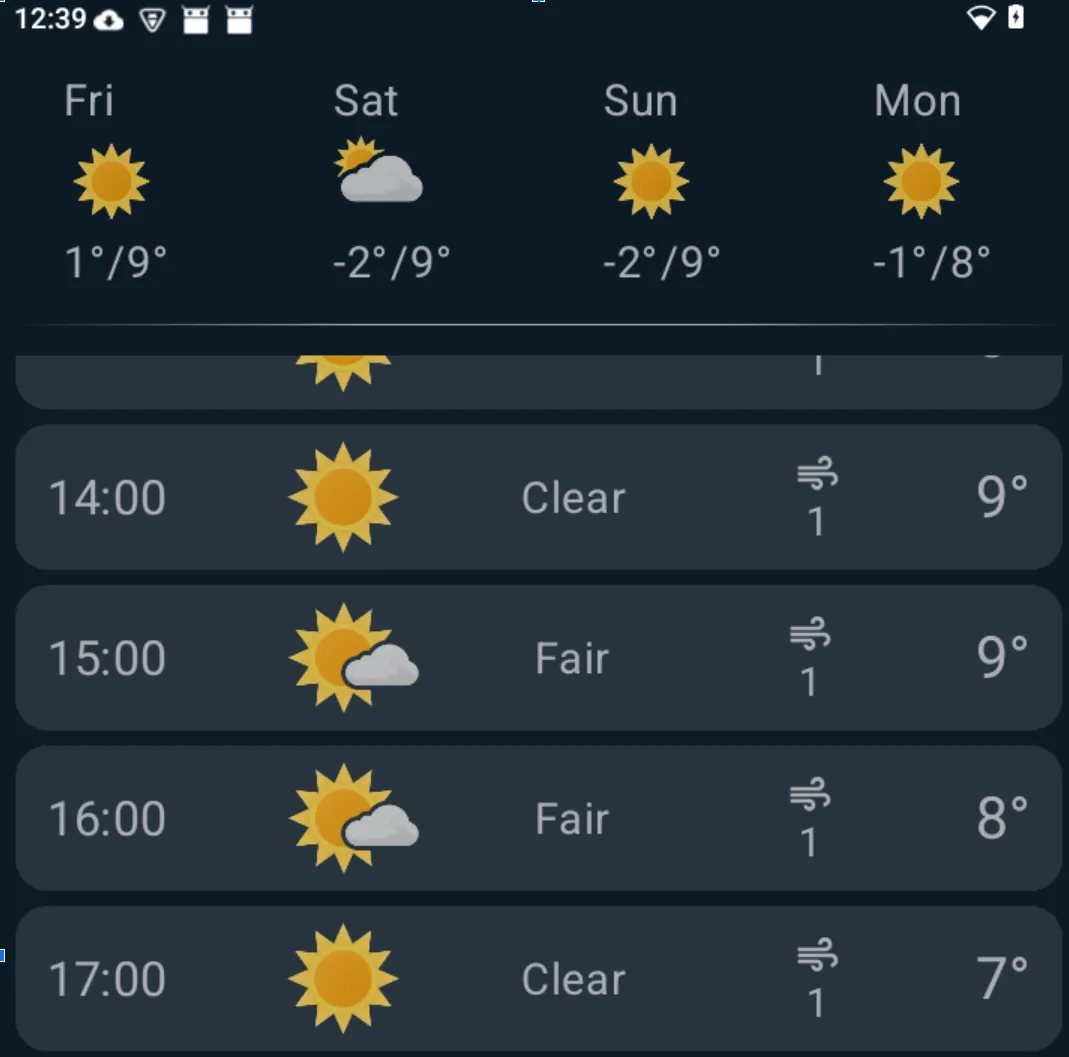
- Interactive dashboard — my favourite dashboard is a weather forecast with reminders and calendar events. Since I’m using a 7.5“ touch-based display, it’s possible to switch between different dashboards.
Which build to choose from?
There are at least two methods for installing Android OS on the Raspberry Pi.
- Konstakang provides AOSP and LineageOS builds with additional features and enhancements.
- Emteria provides Emteria.OS, a commercial solution that is free for personal use.
Numerous online tutorials detail the installation process for each option, so I won’t cover that here. I decided to use Emteria.OS, which I found more stable than LineageOS-based builds on the Raspberry Pi. However, if you plan to connect sensors, cameras, or other peripherals, Konstakang’s builds might be a better choice.
You can run both a Ktor service and a UI within the same Android application on a Raspberry Pi. However, for administrative tasks like database updates or Ktor service maintenance, it’s beneficial to create separate “admin” and “user” build flavors. This isolates admin-specific use cases in a dedicated application, keeping a cleaner separation of concerns.
productFlavors {
    create("server") {
        isDefault = true
        dimension = "environment"
        buildConfigField("String", "ENVIRONMENT", "\"server\"")
    }
    create("admin") {
        dimension = "environment"
        buildConfigField("String", "ENVIRONMENT", "\"admin\"")
    }
}
Energy consumption
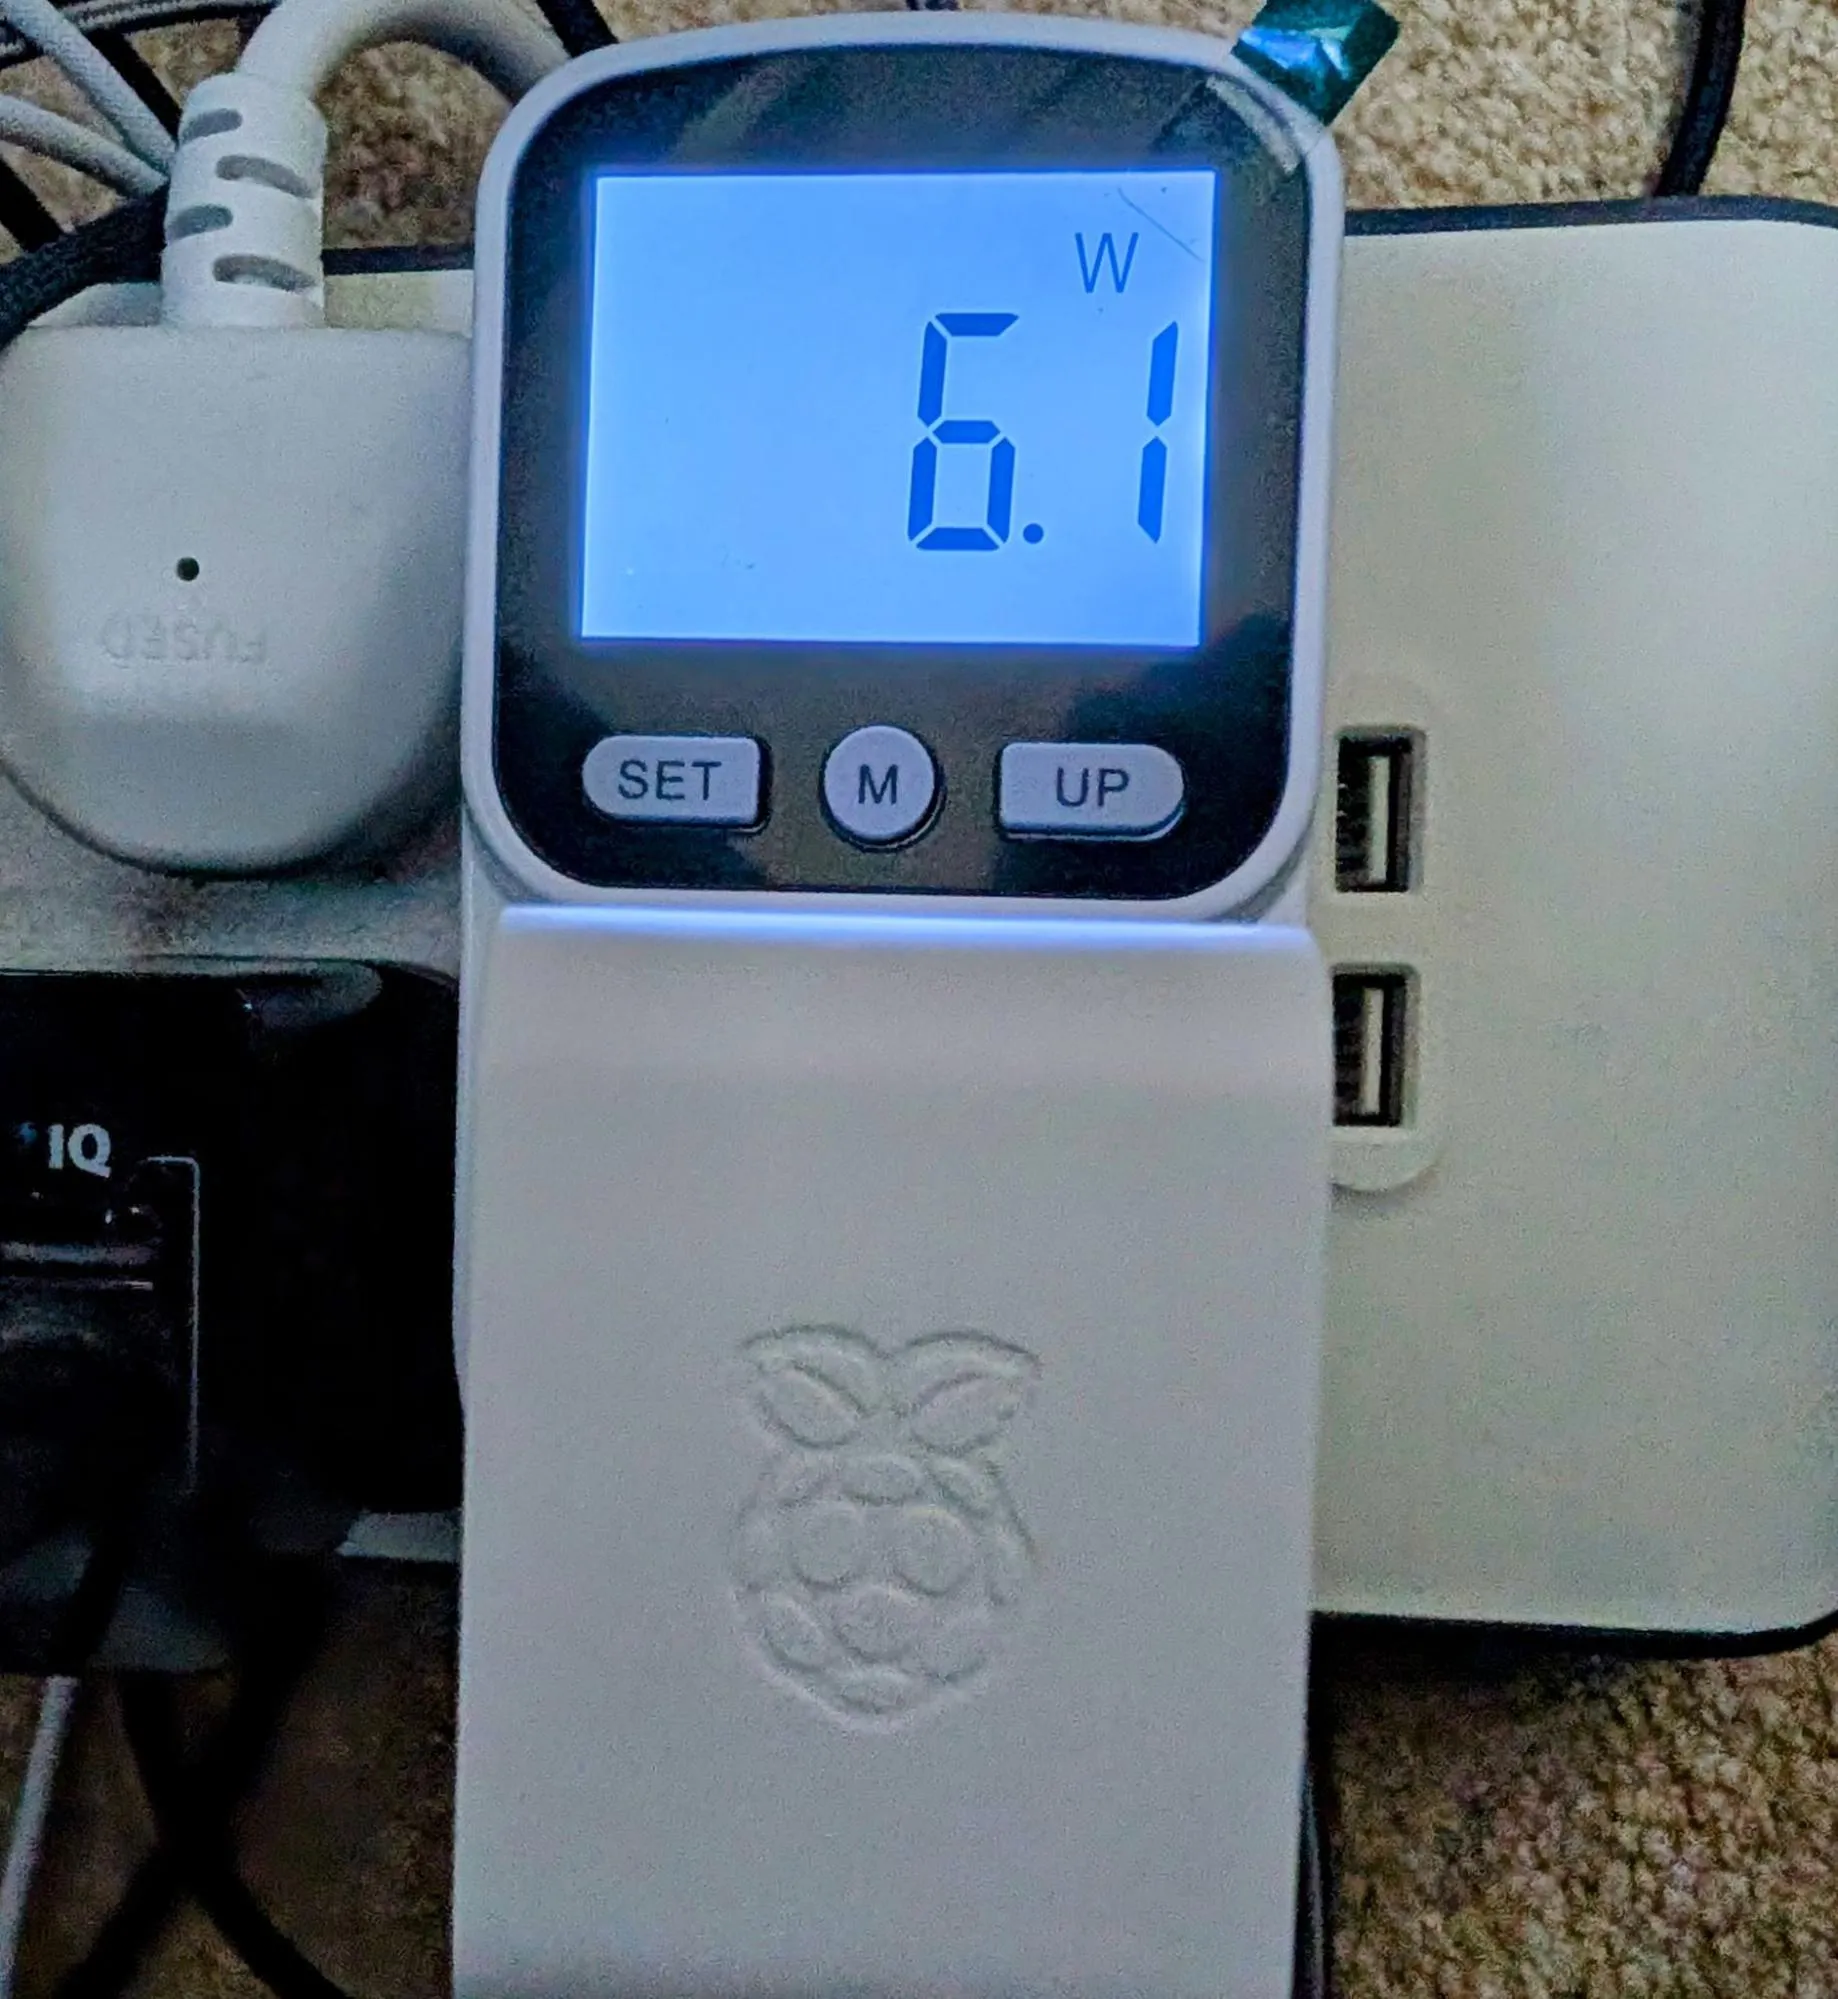
A Raspberry Pi with a 7.5-inch screen, running continuously, typically consumes between 6.0W and 6.5W. Occasional power spikes may occur depending on the running processes.
Pre-installation tasks
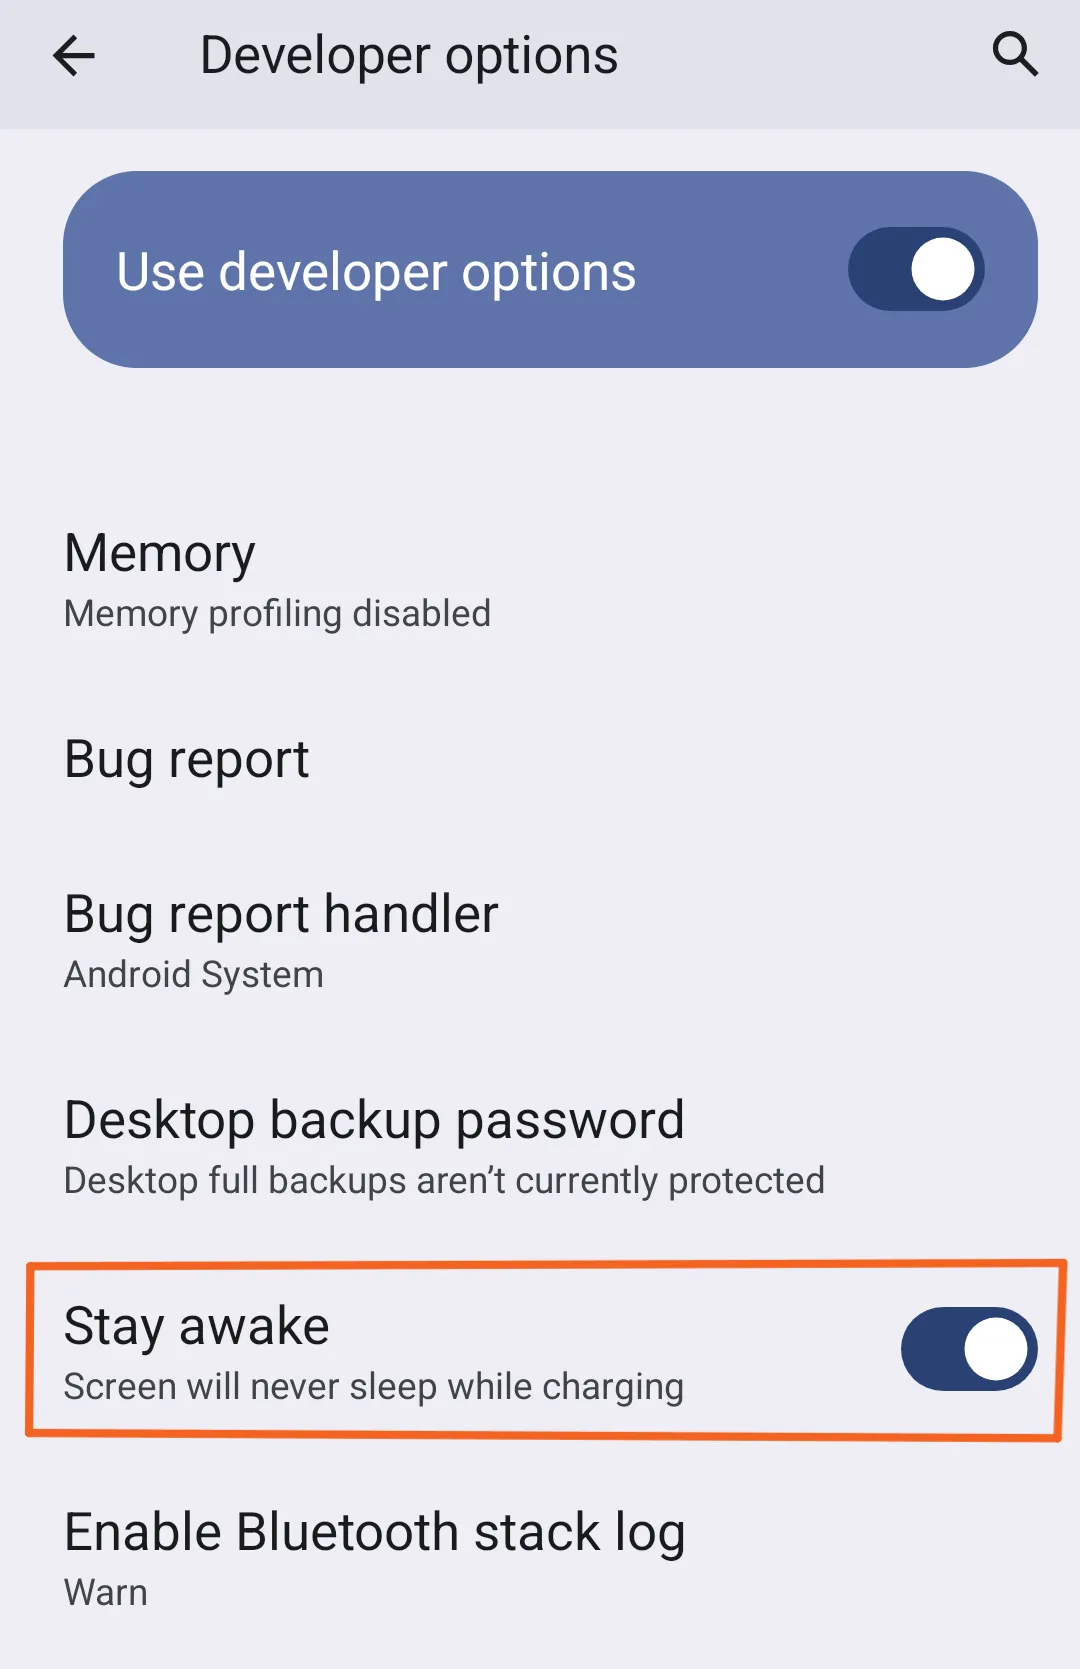
Stay awake
To prevent the screen from entering sleep mode, enable the “Stay Awake” setting. While not strictly required, this keeps the UI continuously visible, which is desirable for this application.
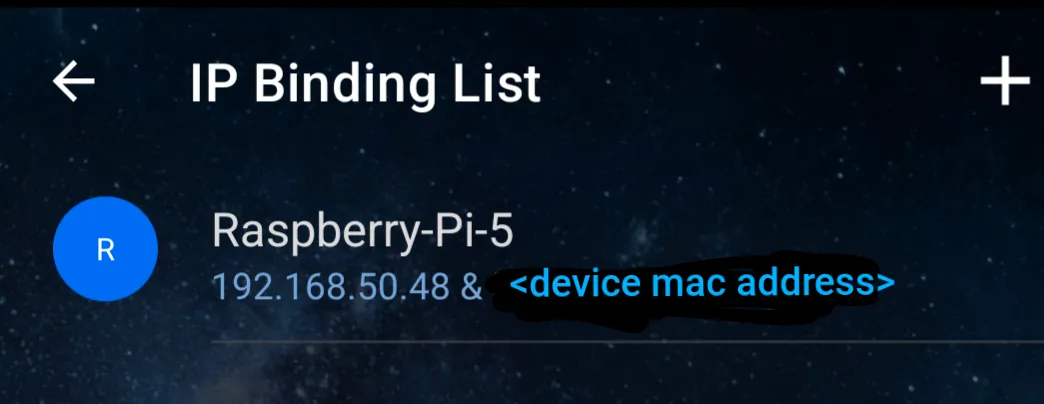
IP binding
Modern routers usually retain IP-to-MAC address mappings, reassigning the same IP when a device reconnects. Older routers, though, might assign a new IP to the Raspberry Pi if it goes offline and the DHCP lease expires. To prevent this, manually bind a static IP address to the Pi’s MAC address.
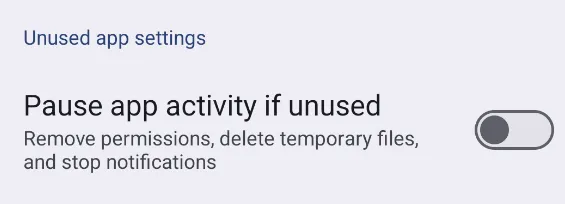
Disable “pause app activity”
While a foreground service inherently minimises pausing, disabling “Pause app activity if unused” adds an extra layer of reliability.
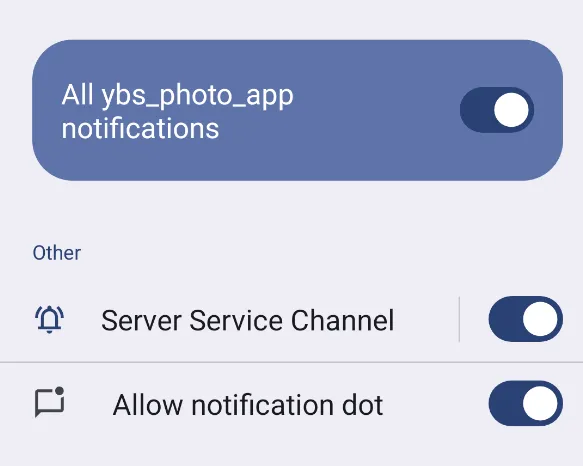
Enable notifications
The service may function with notifications disabled, but enabling them provides valuable insight into the currently running services.
Add user permissions in the manifest
Since the app connects to the internet and runs a foreground service with notifications, a few permissions need to be added to the app manifest.

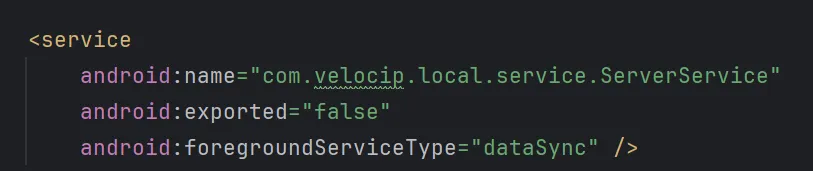
Add a foreground service in the manifest
Define a foreground service with type dataSync, which handles data transfer operations such as uploading, downloading, fetching data, or local file processing.
Enable insecure connections
Since this is just testing on a local network, skipping certificate setup for insecure connections is fine here. Create a network_security_config.xml file in the Android project’s xml folder and specify the Raspberry Pi’s IP address to allow insecure connections for development purposes.
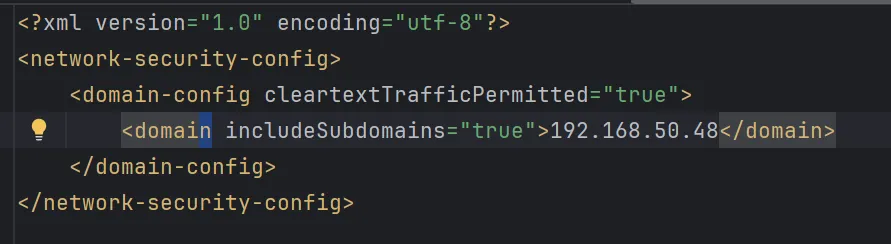
It’s crucial to remember that in a real-world, production environment, you should always enable secure connections and set up proper certificates. The setup shown here is for testing and experimentation only.
Add this file under networkSecurityConfig in the manifest next.

Create a foreground service
Creating a foreground service with a restart mechanism ensures the server keeps running continuously. The order matters here:
- Create a notification channel.
- Build a notification.
- Start a foreground service.
If the service is killed by the system, it will be recreated and onStartCommand() will be called with a null intent.
private fun createNotificationChannel() {
    val serviceChannel = NotificationChannel(
        CHANNEL_ID,
        "Server Service Channel",
        NotificationManager.IMPORTANCE_DEFAULT
    )
    val manager = getSystemService(NOTIFICATION_SERVICE) as NotificationManager
    manager.createNotificationChannel(serviceChannel)
}

private fun buildNotification(): Notification {
    return NotificationCompat.Builder(this, CHANNEL_ID)
        .setContentTitle("Server Service")
        .setContentText("Running...")
        .setSmallIcon(R.drawable.ic_download)
        .build()
}

private fun startForegroundService() {
    startForeground(NOTIFICATION_ID, buildNotification())
}

companion object {
    const val CHANNEL_ID = "ServerServiceChannel"
    const val NOTIFICATION_ID = 1
}
Restart foreground service
When the system restarts a service that returned START_STICKY, it calls onCreate() and then onStartCommand() again. In this restarted call, the intent parameter will be null. createNotificationChannel() and startForegroundService() then re-establish the service as a foreground service with its persistent notification.
override fun onStartCommand(intent: Intent?, flags: Int, startId: Int): Int {
    Log.d("ServerService", "restarting server service")
    startForegroundService()
    return START_STICKY
}
Run the foreground service
The easiest way is to start the service from the main activity in onCreate().
private fun runRestfulService() {
    val intent = Intent(this, ServerService::class.java)
    startService(intent)
}
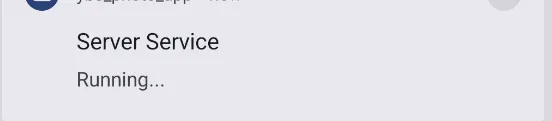
At this point you should see a notification from the foreground service informing you that the server is running.
Data aggregation and display
Aggregating and displaying data from APIs while running the service concurrently is perfectly acceptable with this setup — it’s a key benefit of running the Android UI and the Ktor service simultaneously.
Local CRUD operations
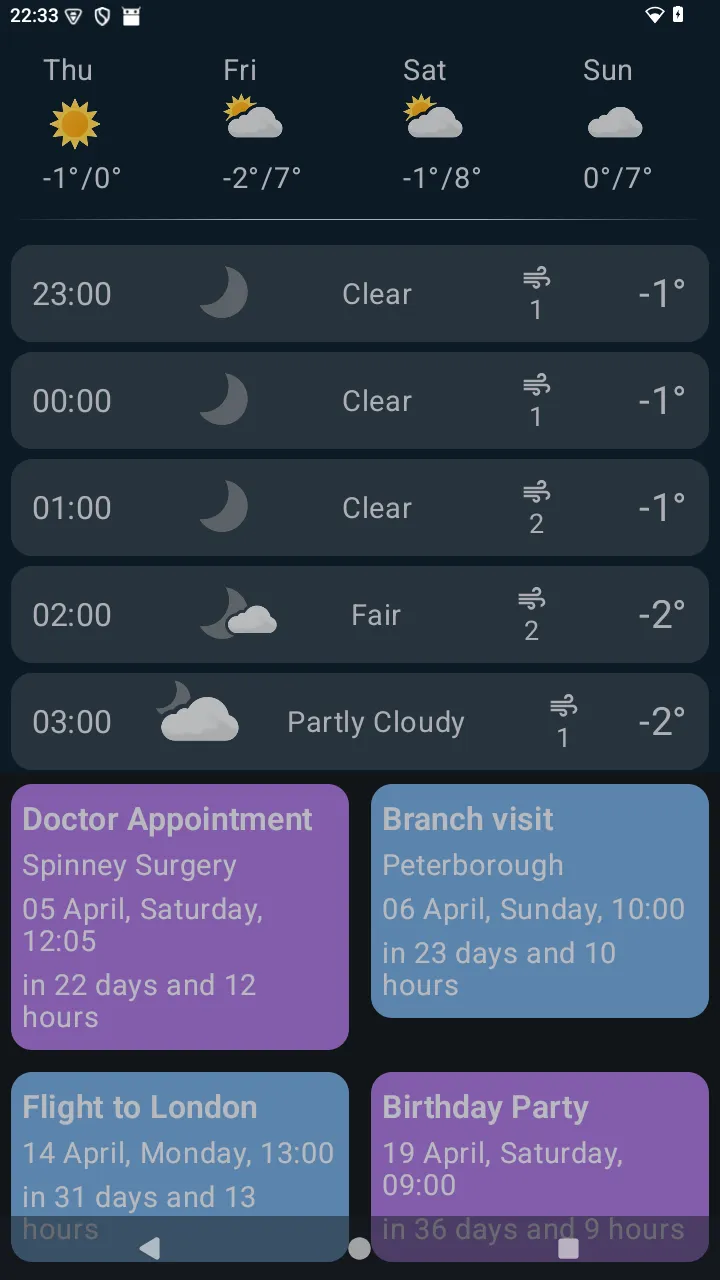
While my Google and Outlook calendars contain numerous events, not all include notifications, making it easy to overlook some. Having a single home for all these events helps me stay on top of things.
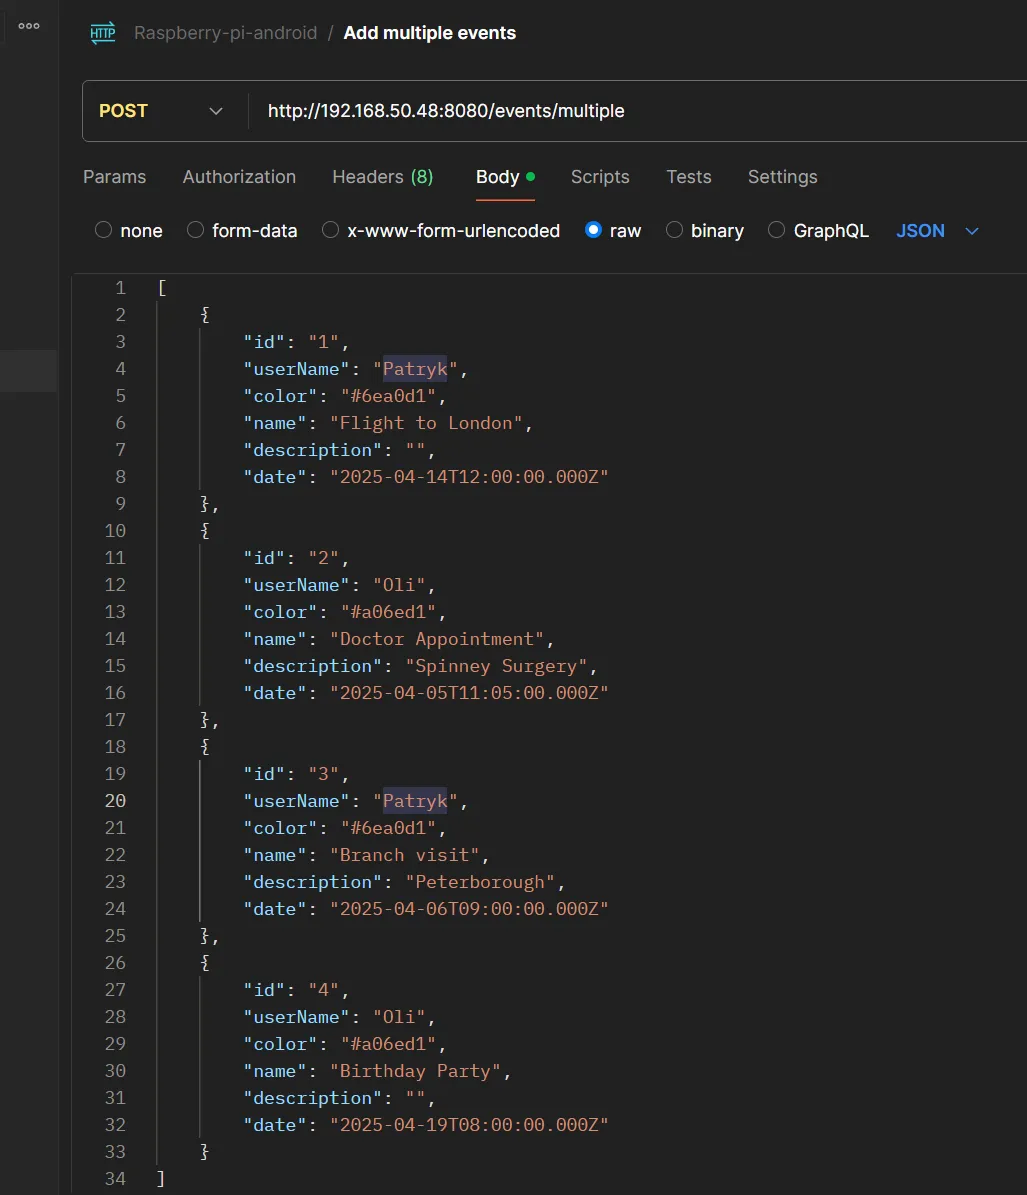
To implement this, I created a POST endpoint in the service that accepts multiple events. For concurrent writes to the database, several alternatives exist:
- PostgreSQL, which uses Multiversion Concurrency Control (MVCC).
- MongoDB, which employs MVCC and internal locking mechanisms.
- Firestore, which implements optimistic concurrency.
A simpler alternative when using Room is a Mutex. If data loss during unexpected service termination is acceptable, periodically or conditionally (e.g., when a ConcurrentHashMap reaches a specific size) persisting data from a ConcurrentHashMap to the Room database is another viable option.
The GET endpoint retrieves all events from the database, splits them into old and new based on the current time, deletes old events in a thread-safe way, and responds with the list of new (upcoming) events.
get {
    try {
        val now = Clock.System.now()
        val events = eventDao.getEvents().map { it.toEventDto() }
        val oldEvents = events.filter { it.date < now }
        val newEvents = events.filter { it.date >= now }

        // Delete old events from the database in a batch operation
        if (oldEvents.isNotEmpty()) {
            eventMutex.withLock {
                oldEvents.map { it.id }.forEach { id ->
                    eventDao.deleteEvent(id)
                }
            }
        }

        call.respond(newEvents)
    } catch (e: Exception) {
        call.respond(HttpStatusCode.InternalServerError, "Failed to retrieve events: ${e.message}")
    }
}
eventMutex.withLock is also used for the post("/single") and post("/multiple") endpoints, to ensure thread-safe writes to the database.
post("/multiple") {
    try {
        val newEvents = call.receive<List<EventDto>>()
        eventMutex.withLock {
            eventDao.upsertEvents(newEvents.map { it.toEventEntity() })
        }
        call.respond(HttpStatusCode.Created)
    } catch (e: IllegalStateException) {
        call.respond(HttpStatusCode.BadRequest, "Invalid event data: ${e.message}")
    } catch (e: JsonConvertException) {
        call.respond(HttpStatusCode.BadRequest, "Invalid JSON format: ${e.message}")
    } catch (e: Exception) {
        call.respond(HttpStatusCode.InternalServerError, "Failed to save events: ${e.message}")
    }
}
Test POST with Postman
I tested the POST endpoint by generating a few sample events in Postman, then listed the events below the weather forecast on the dashboard — though you could just as easily build a separate dashboard for them.
Upload images
There are at least four ways to receive images in Ktor, each with its own tradeoffs:
receive<ByteArray>()— simple to use, loads the entire byte array in memory. Best for smaller images.receiveStream()— more efficient thanreceive. Best for medium-sized images.receiveChannel()— most efficient, requires a coroutine scope. Best for large images. Uses Kotlin coroutines and channels for asynchronous, non-blocking I/O.receiveMultipart()— best for complex form submissions involving files.
I settled on receiveMultipart(), which is scalable since it lets you iterate through the individual parts of a request and process each one separately if needed. You get a MultiPartData from call.receiveMultipart(), then iterate over each part and process it if it’s a PartData.FileItem. Each part is disposed of after processing to free resources.
private fun io.ktor.server.routing.Route.setupFilesRoutes() {
    route("/files") {
        post("/upload/photo") {
            try {
                val multipart = call.receiveMultipart()
                multipart.forEachPart { part ->
                    if (part is PartData.FileItem) {
                        handlePhotoUpload(part)
                    }
                    part.dispose() // Ensure all parts are disposed
                }
                call.respond(HttpStatusCode.OK, "File uploaded")
            } catch (e: Exception) {
                call.respond(HttpStatusCode.InternalServerError, "Failed to upload file: ${e.message}")
            }
        }
    }
}
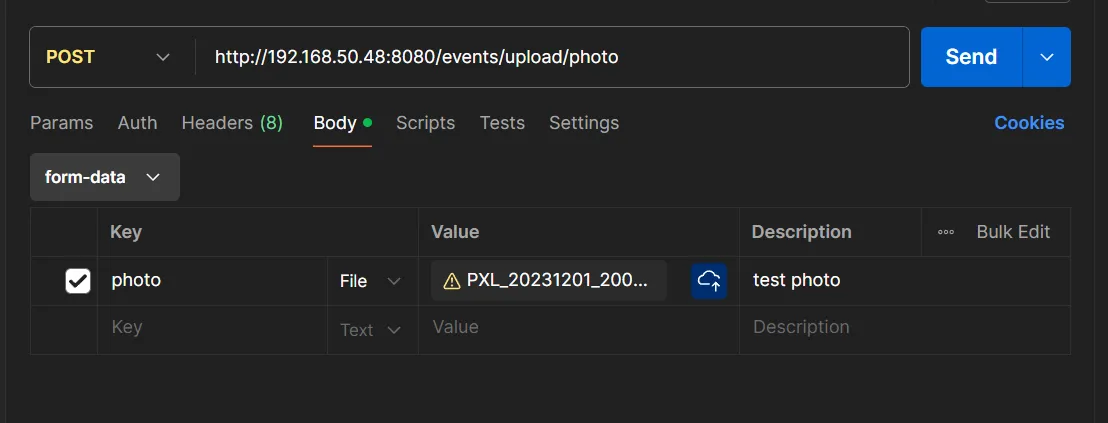
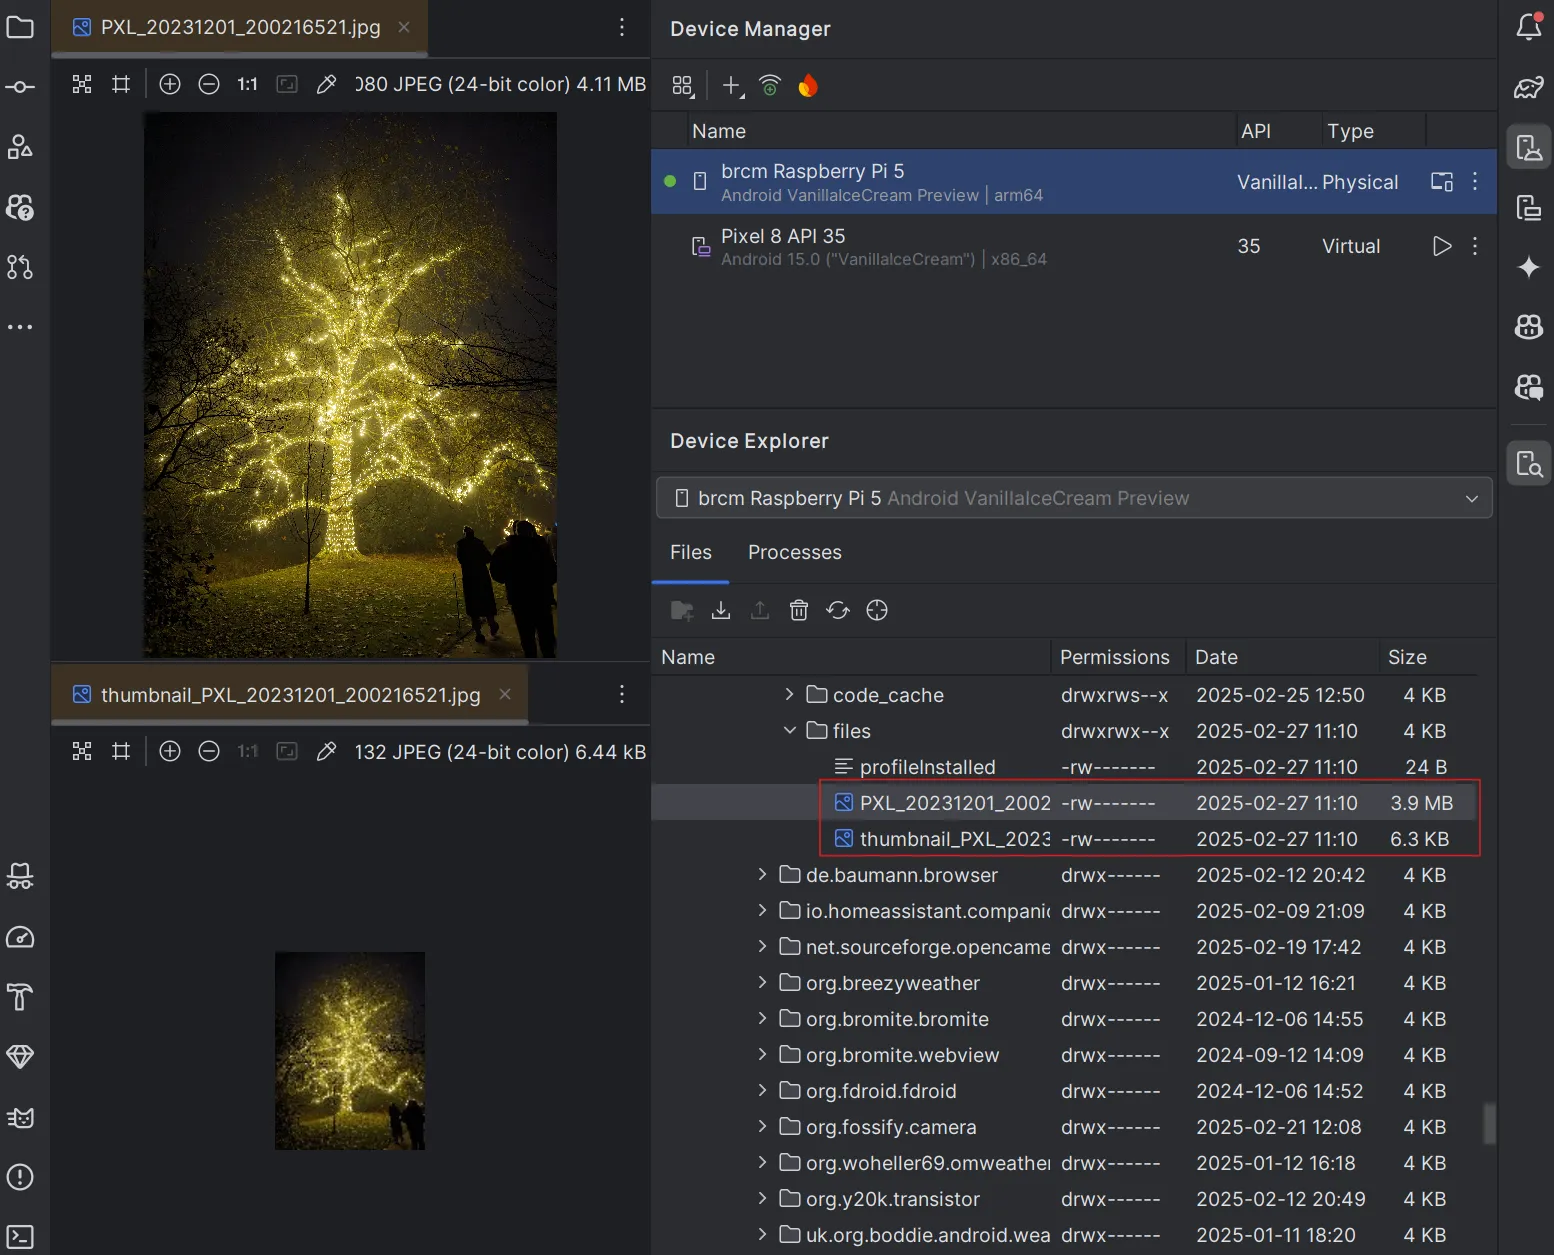
To test this in Postman: select “Body” → “form-data”, choose an image file, add a short description, and send. You can preview the uploaded image on the device via Device Explorer → Data → Data → com.yourapp.name → files.
Websockets
For scenarios that need immediate reception or broadcast of updated data, WebSockets are an effective solution — particularly useful when connecting a sensor to the Raspberry Pi and needing to push value changes to the client, either on any change or conditionally for specific alterations.
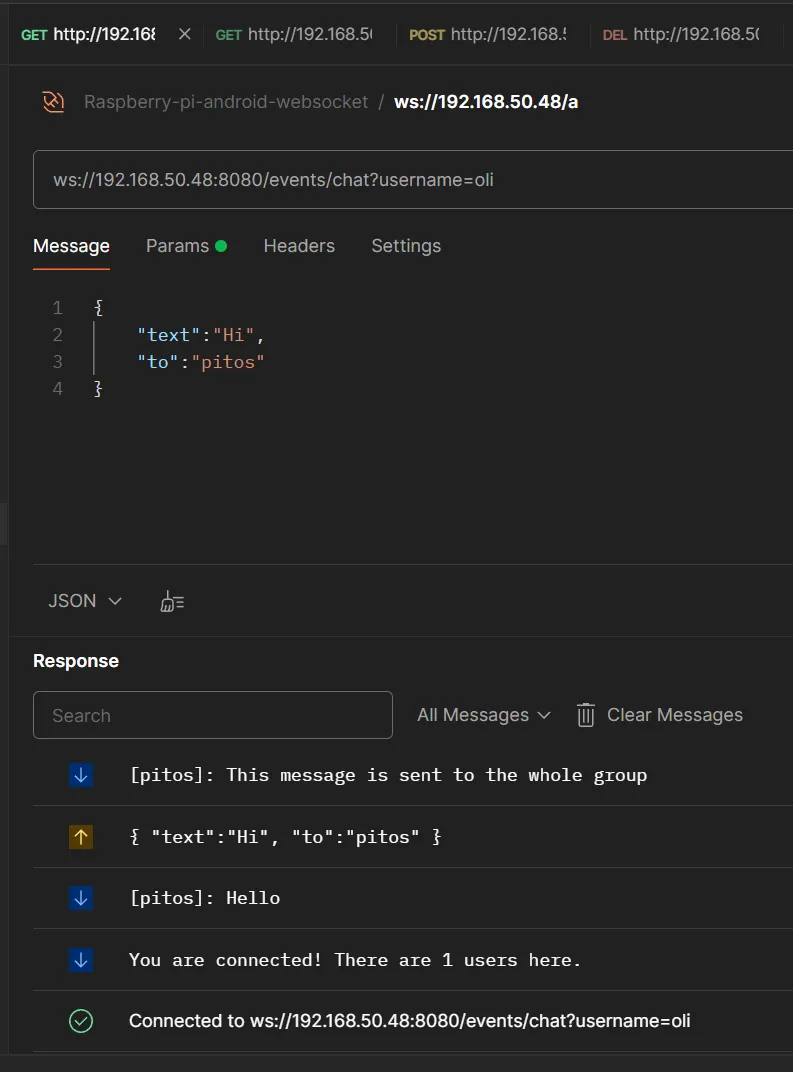
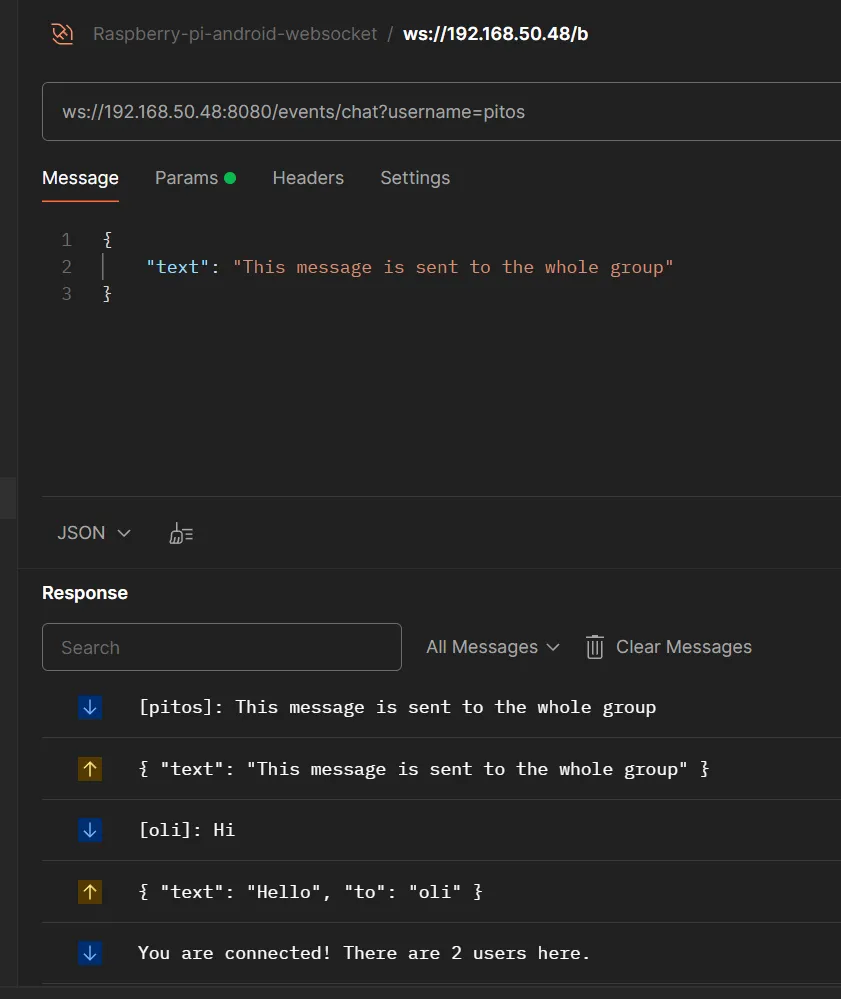
As an example, here’s a small chat application between two or more users instead of broadcasting sensor values:
webSocket("/chat") {
    val username = call.request.queryParameters["username"] ?: run {
        this.close(CloseReason(CloseReason.Codes.CANNOT_ACCEPT, "No username"))
        return@webSocket
    }

    users[username] = this
    send(Frame.Text("You are connected! There are ${users.size} users here."))

    try {
        incoming.consumeEach { frame: Frame ->
            if (frame is Frame.Text) {
                try {
                    val msg = Json.decodeFromString<MessageDto>(frame.readText())
                    if (msg.to.isNullOrBlank()) {
                        users.values.forEach { usr ->
                            usr.send(Frame.Text("[$username]: ${msg.text}"))
                        }
                    } else {
                        users[msg.to]?.send(Frame.Text("[$username]: ${msg.text}"))
                    }
                } catch (e: Exception) {
                    send(Frame.Text("Error processing message: ${e.message}"))
                }
            }
        }
    } finally {
        users.remove(username)
        this.close()
    }
}
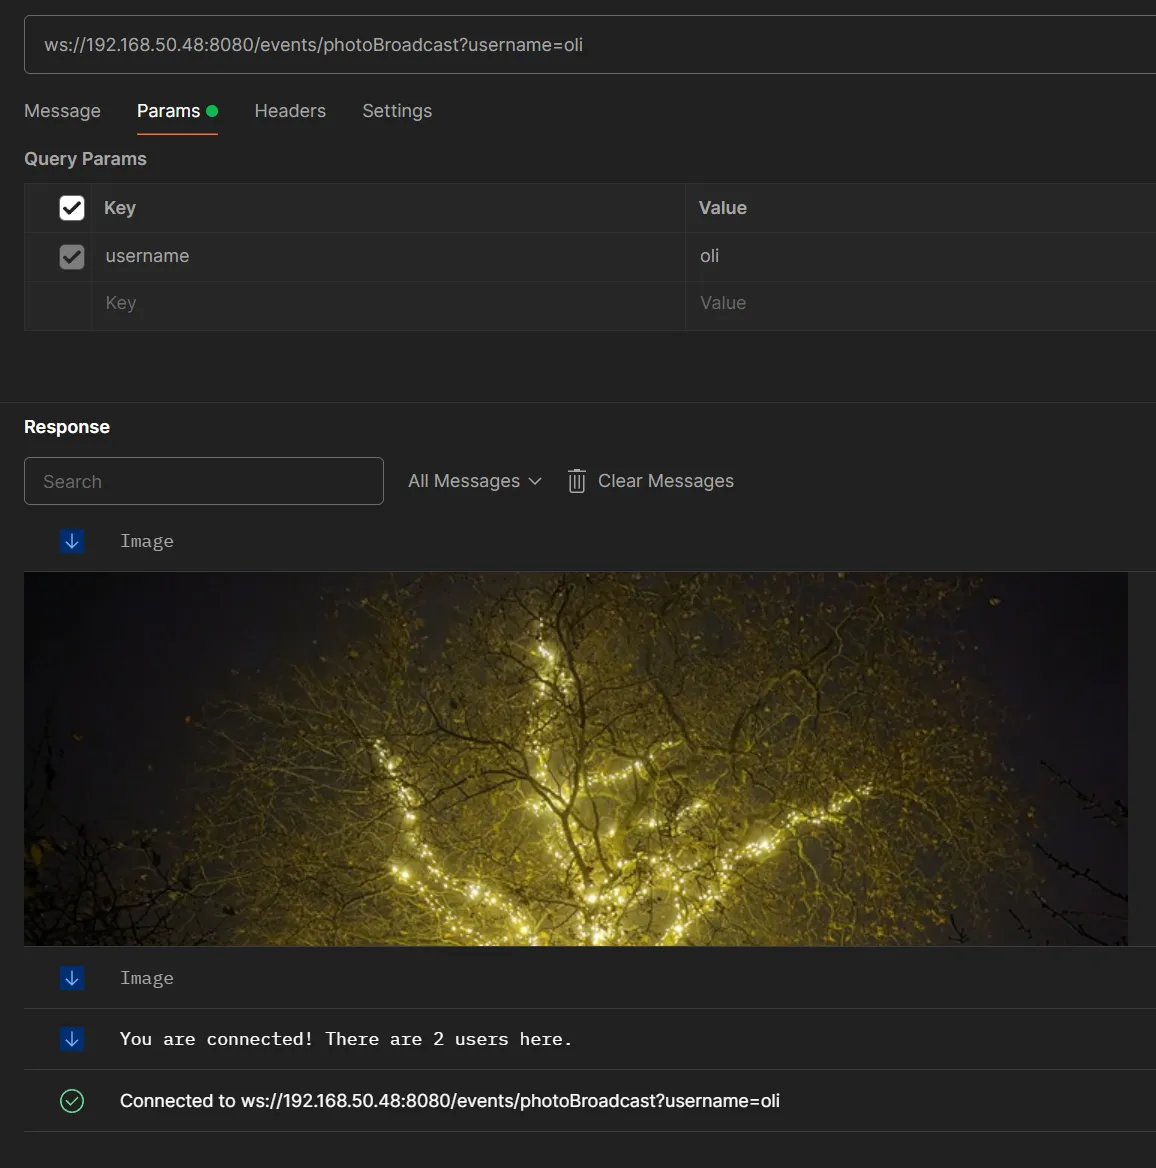
In Postman: select New → WebSocket, enter ws://ip_address/end_point?username=your_name in the address bar, then click Connect. Type a message in the body and click Send to message a specific user, or broadcast to the whole group chat.
Send an image to a group chat
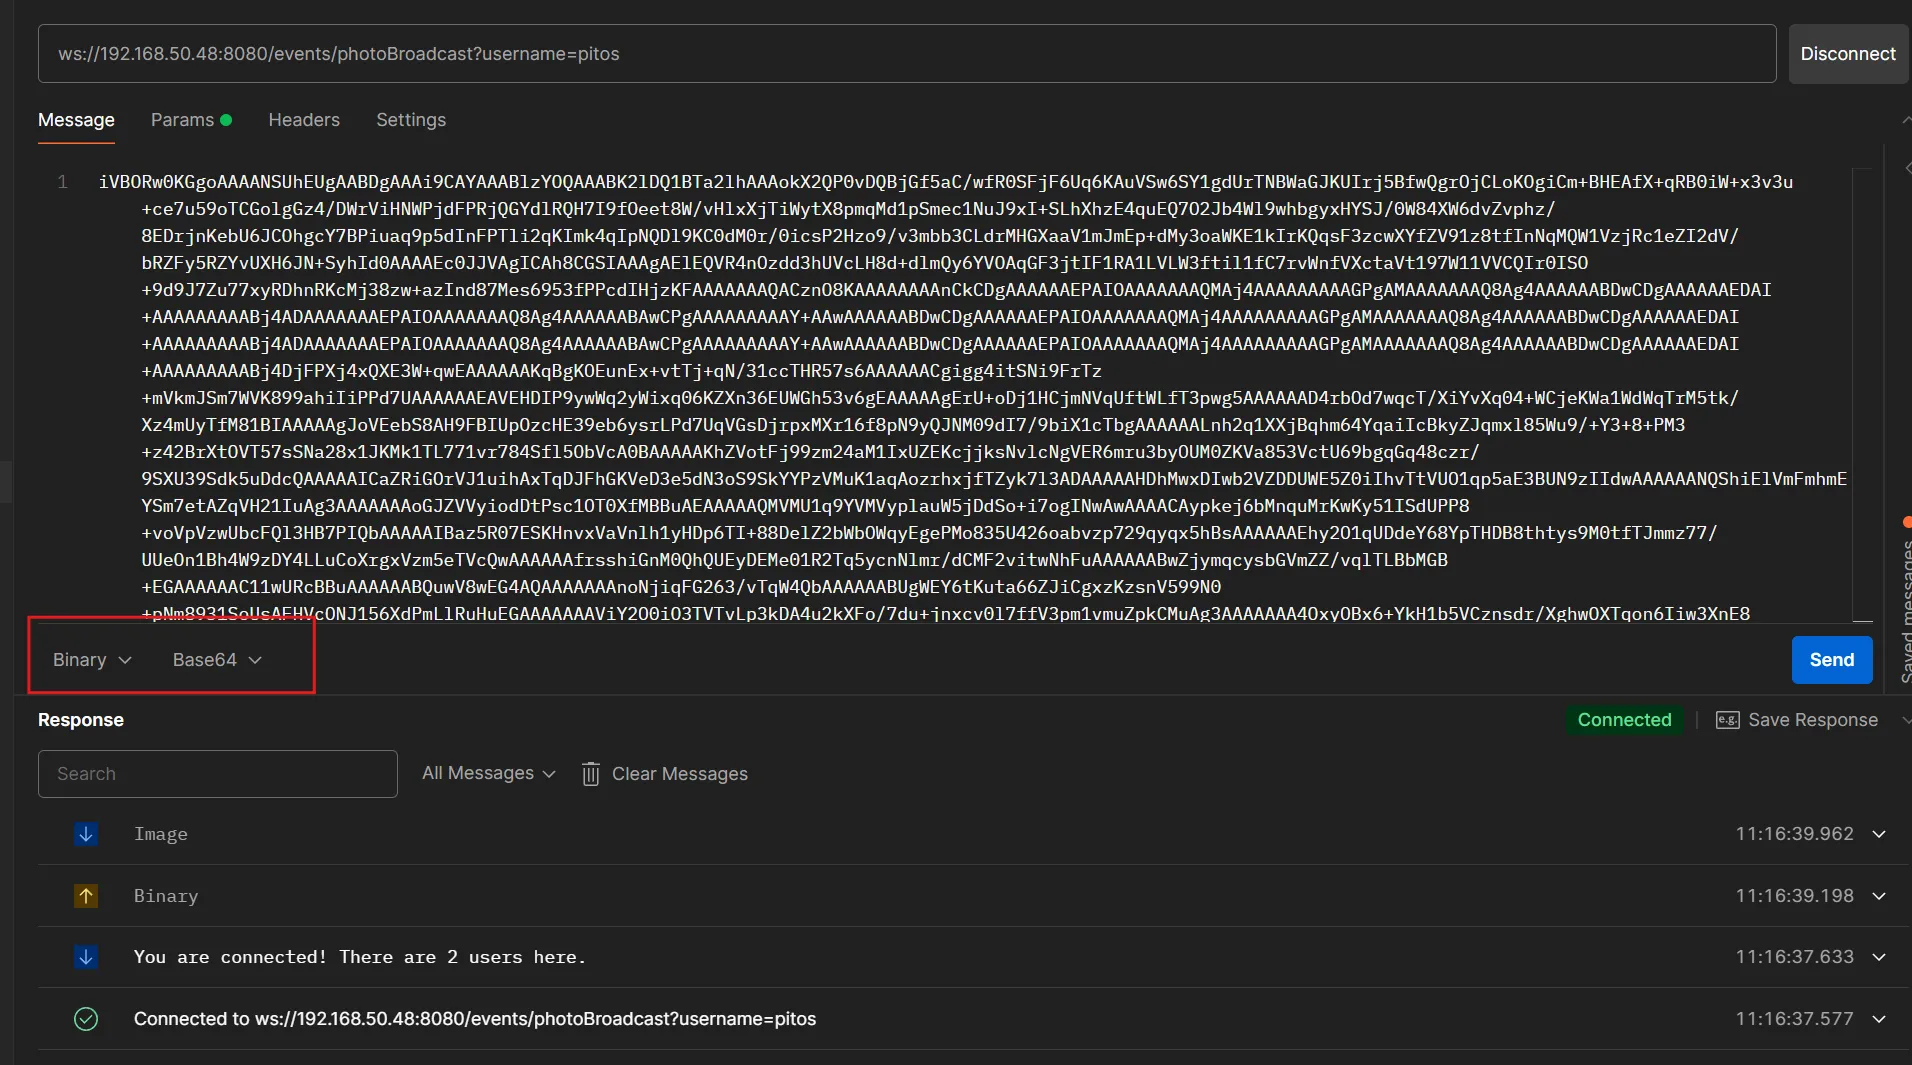
Broadcasting images turned out to be more engaging than sending text messages. To test this in Postman, an image must be converted to Base64 encoding, and the message type set to Binary/Base64 before sending. It’s important to avoid sending excessively large images, since that can produce a large binary message that gets discarded during transmission.
Hosting a simple website
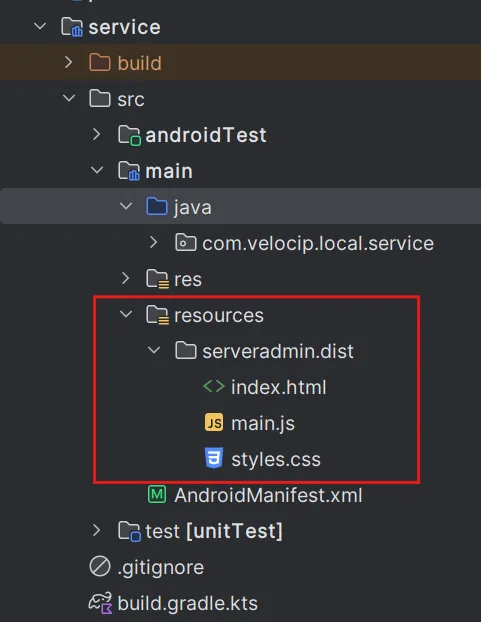
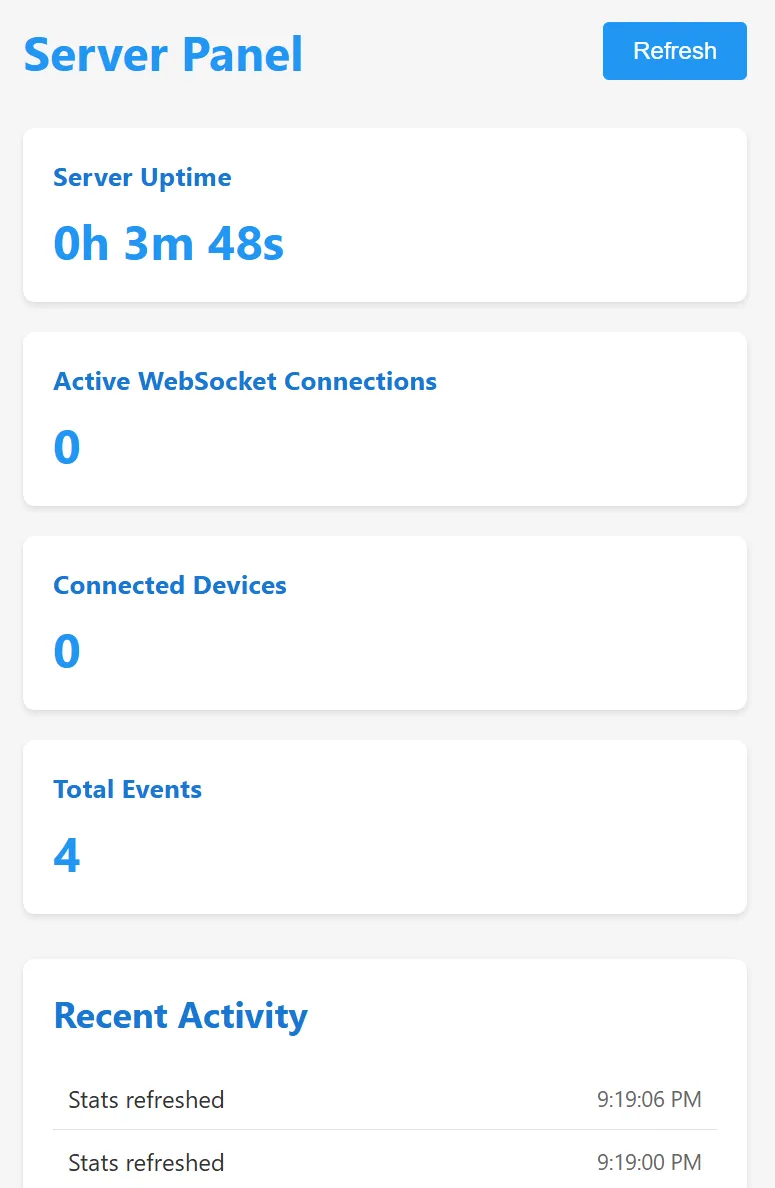
To host a simple website, create a resources folder (if it doesn’t exist) with a subfolder for HTML, JS and CSS files. You can then access the site at http://[your_server_IP_address]:8080/.
get("/") {
    val indexFile = this.javaClass.classLoader?.getResource("serveradmin/dist/index.html")
    if (indexFile != null) {
        call.respondText(indexFile.readText(), ContentType.Text.Html)
    } else {
        val altFile = File(filesDir, "serveradmin/dist/index.html")
        if (altFile.exists()) {
            call.respondText(altFile.readText(), ContentType.Text.Html)
        } else {
            call.respond(HttpStatusCode.NotFound, "index.html not found")
        }
    }
}
staticResources("/", "serveradmin/dist") {
    default("index.html")
}
Problems
- Limited hardware support — many hardware components attached to the Raspberry Pi aren’t supported by Android OS. For example, I couldn’t get the camera to work.
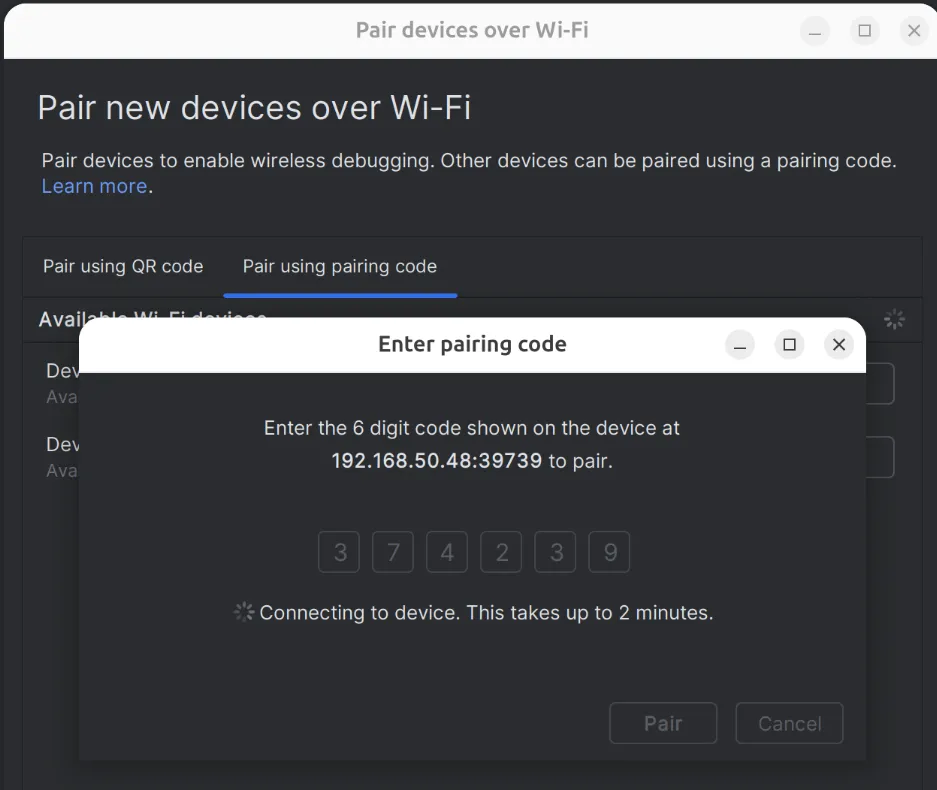
- Hard to debug — Android Studio only recognised the device a couple of times, and wireless debugging worked sporadically despite enabling both Wireless Debugging and ADB over Ethernet in Emteria settings. I had to develop using an emulator, then spend significant time getting deployment to the Raspberry Pi working.
Reading data from sensors
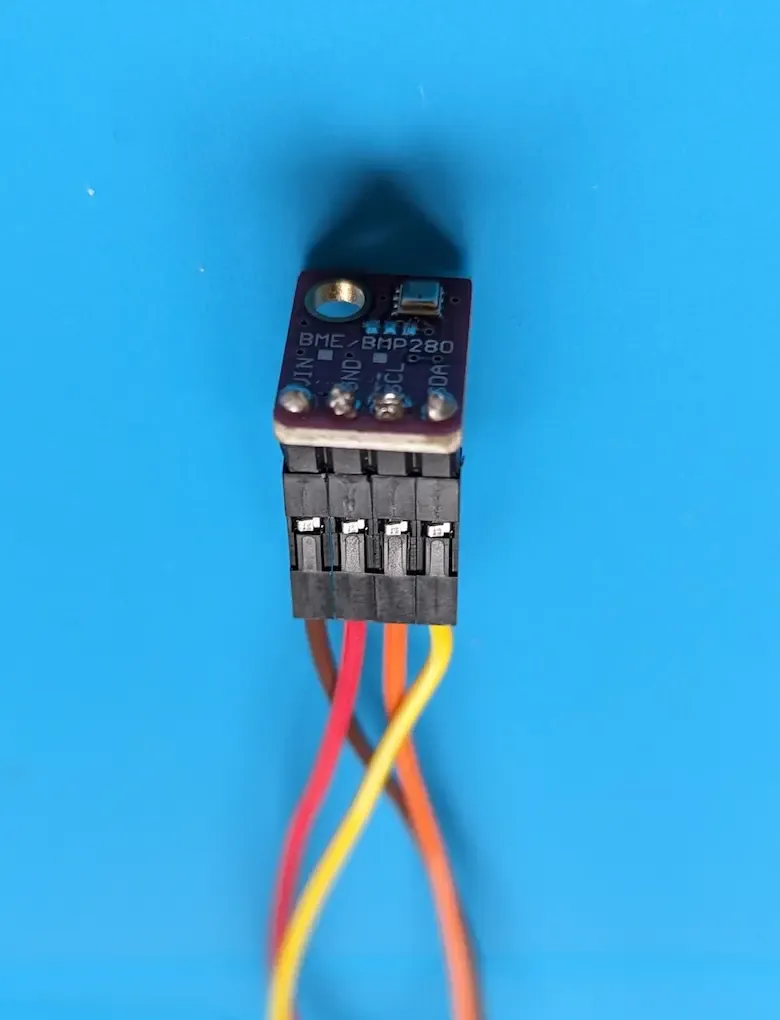
I tried using the Pi4J library to read temperature, humidity, and pressure from a BME280 sensor, but was unsuccessful. I’ve found that Python libraries are much more user-friendly for reading data from sensors connected to a Raspberry Pi.
Final thoughts
Implementing Android OS with a touchscreen on a Raspberry Pi lets Android developers leverage powerful client-side dependencies, reduce context switching, and promote code sharing and logic reuse. This setup provides continuous operation without battery concerns and enables microservices implementation, making it cost-effective and versatile for various applications.
By integrating both a Ktor service and a UI within the same Android application, you get seamless service and UI integration in one codebase. A class service code sample can be found in this gist.
Next steps
Since I ran into issues with deployment and limited hardware and sensor support, I plan to build a similar service using Svelte and FastAPI instead — which should let me fully use Python’s sensor libraries on the Raspberry Pi.